In this installment of GSiP, Fly to Water saves you the cost of a brand spanking new Nikon D4 and spills the beans on how to get excellent, close-up shots of wildlife by:
Getting Close Enough to the Wildlife
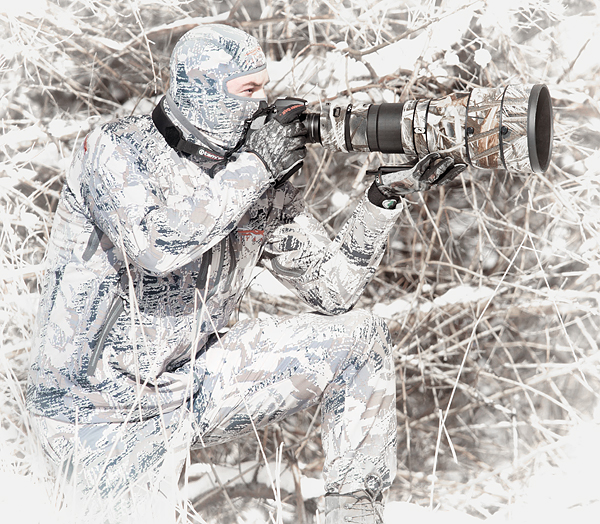
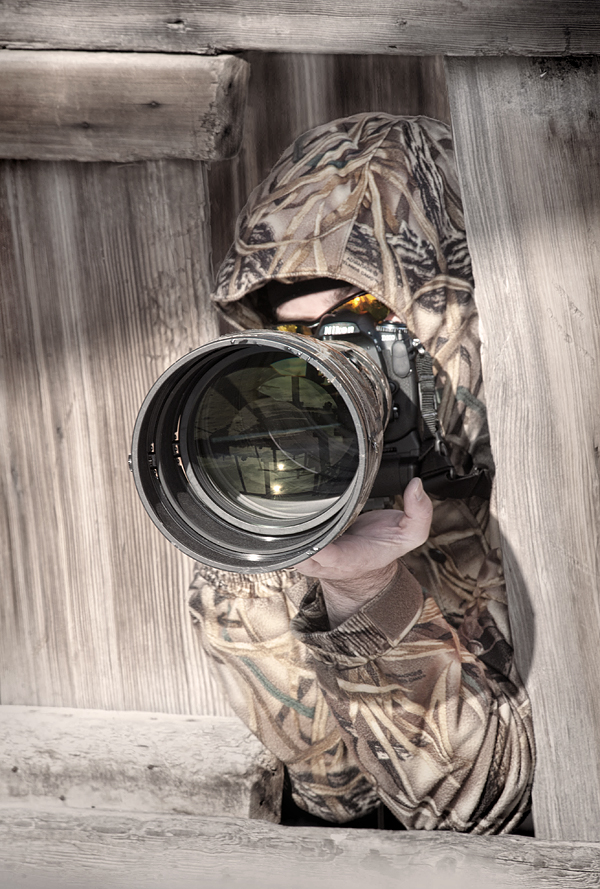
(Photo of me: www.jaymorr.com, Post: Me)
One of the biggest misconceptions out there is that prime lenses, like spotting scopes, are designed for high magnification. It's wishful thinking. Baboons probably wish they didn't have those garish, red asses all the time but it doesn't change anything. Expensive glass is actually designed around a very large aperture, which allows more light into the camera and therefore expands the range of conditions that can be dealt with by the photographer.
In these posts I've tried to offer some low-cost suggestions that helped me greatly in learning how to advance my outdoor photography. The single, most significant improvement you will ever see in your wildlife images will come from learning how to get closer. Gear is nice, and over time you will find yourself upgrading. Here's the bottom line: My best wildlife images have come from my closest encounters with wildlife. A few weeks ago I captured my all-time favorite image a of a chukar partridge. I was 6 steps from the bird, in good light. The result would have been great with any SLR and 300mm lens, or point and shoot with 6x optical zoom.
The motif you might be noticing is: WORK. There is no EASY button or quick fix. It will take a lot of time and patience - patterning and stalking animals involves skills which must be developed and practiced. Effort and dedication provide the pay off - everything else is secondary. The best advice I can give:
Find a place where your subject wants to be, and habitually frequents. Get there first, and wait. It's that simple, and that complex. Many are unprepared for the time investment. As a somewhat general rule, the average is probably close to 1 good opportunity per full day in the field with wild subjects. Understand that, and have realistic expectations. Your commitment will pay dividends.
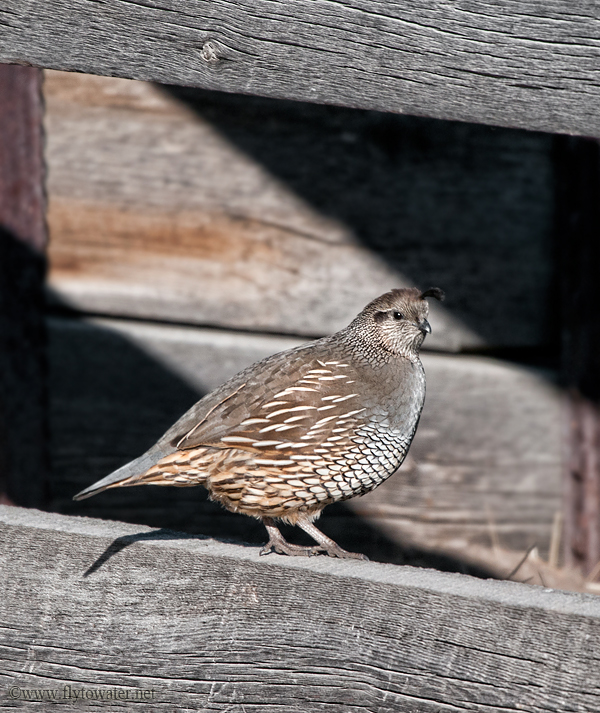
Bird's Eye View:
( Photo of me: www.jaymorr.com, Post: Me)
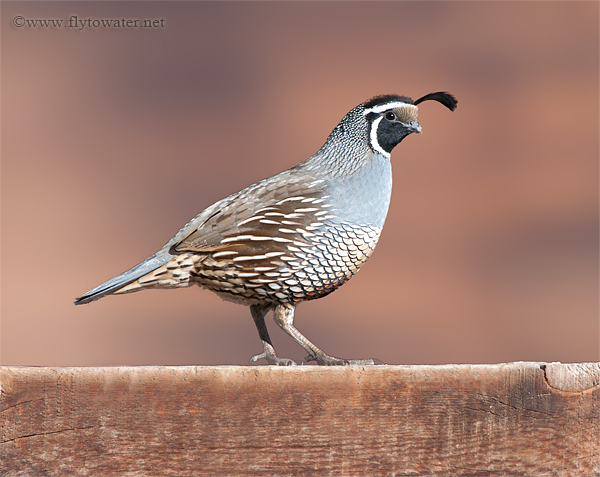
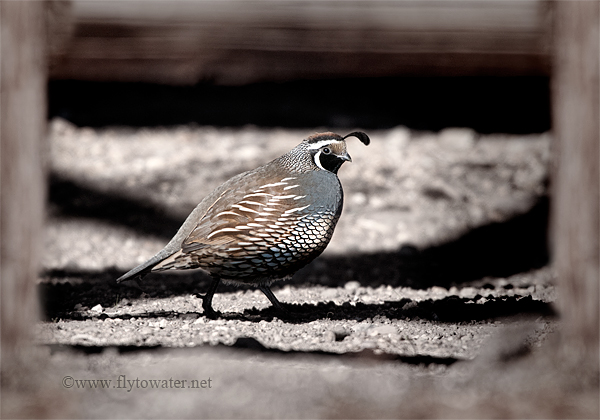
My View:
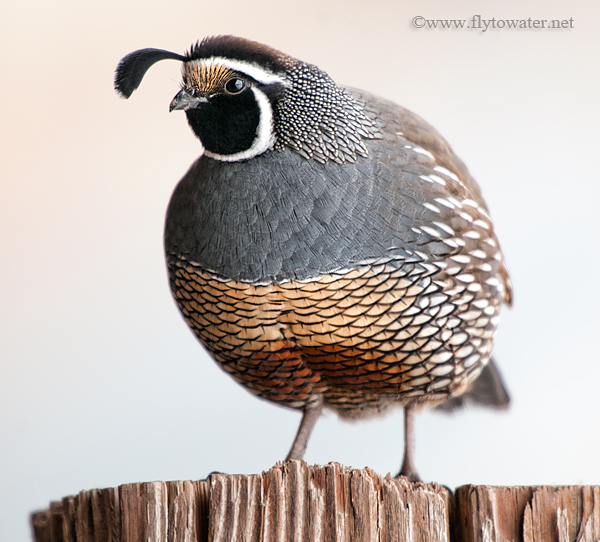
California Valley Quail
Nikon D300, f/8, 1/125
Nikon 400mm f/2.8 VR
Nikon TC20-EIII Teleconverter
Distance to Subject: 8 paces